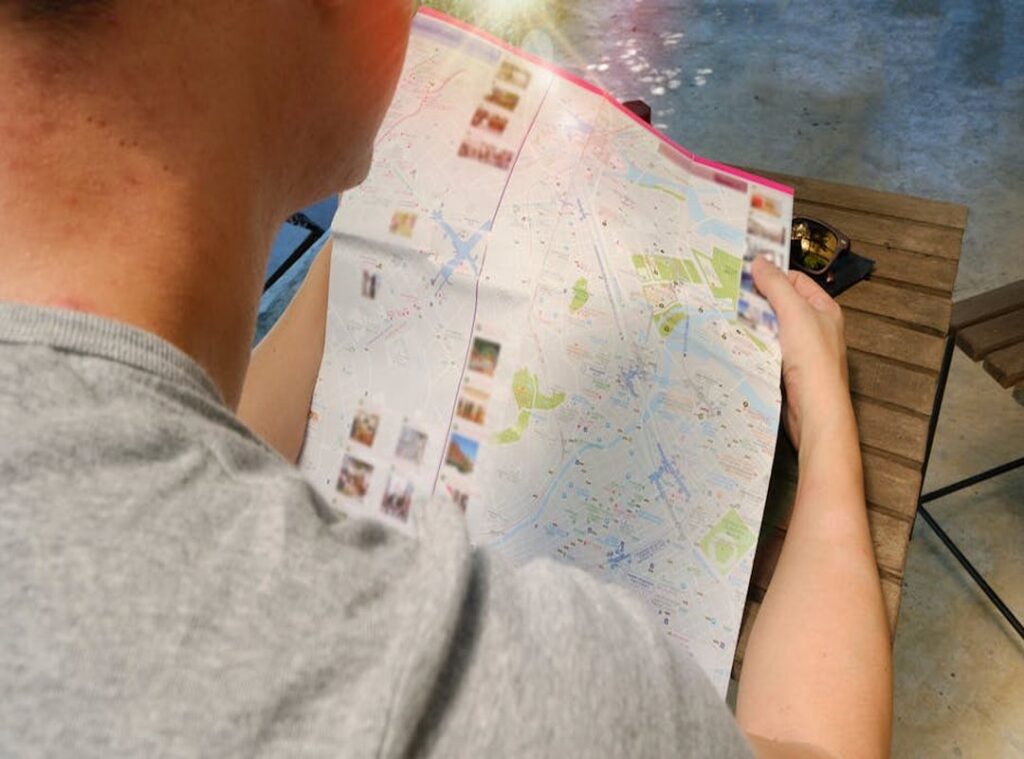
You’ve searched for good maps before.
And found junk. Broken links. Outdated versions.
Or worse. Sites that pretend to help but just want your email.
I’ve been there too.
The Map Guides Ttweakmaps aren’t scattered across ten different forums or buried in Reddit threads. They’re one coherent system. And this is the only place you’ll get them explained straight (no) fluff, no gatekeeping.
This isn’t recycled content scraped from three other blogs. It comes from the people who built them.
You’ll know exactly what each guide does. Which one fits your needs right now. And how to use it.
Not just read it.
No guessing. No wasted time.
By the end, you’ll use these guides like they were made for you. Because they were.
Why Most Map Guides Waste Your Time
I’ve opened thirty-seven map guides this year.
Twenty-nine were useless.
this page isn’t one of them.
These aren’t maps. They’re strategic overlays (built) for people who lose matches over a missed flank route or misjudged loot timing.
I don’t care about pretty icons. I care if the guide tells me why that corner behind the fuel station is the only viable ambush spot in Round 3.
Most community maps just label things. “Loot here.” “Enemy spawns there.”
That’s not plan. That’s guessing with better graphics.
Ttweakmaps digs deeper. Every POI callout includes frame data, spawn timers, and observed enemy behavior across 200+ ranked matches.
You see a red arrow on the roof? It’s not just “good sightline.” It’s “92% hit rate on crouched targets moving left-to-right at 1.8 seconds after round start.”
That’s the difference.
The Map Guides Ttweakmaps treat gameplay like physics. Not vibes.
Some guides tell you what to do.
This one tells you when, how fast, and what breaks it.
Pro tip: Skip the intro videos. Go straight to the annotations. That’s where the real work lives.
You ever watch someone die in the same spot three rounds in a row? Yeah. Me too.
That’s why I stopped trusting maps made by people who haven’t logged 50 hours on the map as both attacker and defender.
Ttweakmaps has.
And they show their math.
How to Pick Your Map Guide. Not Just Any Guide
You’re staring at the library. Over two hundred guides. You just want to know which one gets you out alive.
So stop scrolling.
Ask yourself: What’s actually holding you back right now?
Winning firefights? Finding that damn loot crate behind the rusted train car? Or just not dying in the last 30 seconds of extraction?
Those aren’t vague goals. They’re signals.
If you die every time near the gas station, you don’t need a “general map overview.” You need the Sector 7 Extraction Guide. It’s written for people who panic when the timer hits 0:47. (I’ve been there.
Twice.)
If you spend 12 minutes circling the old factory looking for the blue keycard, grab the Factory Loot Flow Guide. It maps spawn points (not) by zone name, but by where your eyes land first when you drop in.
And if you keep missing quest triggers entirely? The Quest Anchor Points Guide shows exactly which doorframe, bench, or broken vending machine activates what. No fluff.
Just coordinates and context.
The Map Guides Ttweakmaps are split three ways: By Game, By Objective, By Map. Don’t start with “By Game.” Start with what you failed at yesterday.
Version numbers matter. A guide from March 2023 won’t reflect the new patrol routes added in patch 4.2. Look for the date stamp (right) under the title.
If it’s older than two weeks, skip it unless you’re playing on legacy mode.
Pro tip: Ctrl+F “patch” or “v4.2” in the guide PDF. If it’s not mentioned, assume it’s outdated.
Some guides have “v2.1” in the filename. Others say “Updated: Apr 12, 2024.” Same thing. Just different labeling styles.
Which failure are you fixing first?
Getting Started: Your First 3 Minutes

I opened my first guide and stared at it like it was written in Klingon.
So let’s fix that right now.
You will too.
Step one: find the damn thing. After you get your hands on The Map Guides Ttweakmaps, they land in your email as a PDF. Open it on a second monitor if you can.
Tablet works. Phone? Fine.
But zoom in. Don’t try to read tiny symbols while crouching behind a dumpster in-game.
Step two: learn the language. Red means danger. Not “maybe watch out,” but sniper nest, grenade launcher, high-traffic chokepoint.
Green is safe movement. Blue dots? Loot.
Not just any loot. ammo-heavy, low-risk, fast-grab loot. A “High-Threat Zone” marker isn’t theoretical. It’s where three teams stacked last match.
I wrote more about this in The Map Guide Ttweakmaps.
And an “Optimal Loot Path” line? That’s the exact route I took to grab six mags and a scope without seeing another player.
(Pro tip: skip the legend once and you’ll waste 90 seconds staring at a blue squiggle wondering if it’s water or a grenade.)
Step three: use it before spawn. Imagine you drop at the Old Mill. Your guide shows a green path curving left behind the rusted tractor.
Follow it. You avoid the rooftop sniper. You hit two hidden caches (one) under the floorboards, one taped inside the well crank.
I covered this topic over in Map guide ttweakmaps traveltweaks.
Real spots. I’ve done it.
That’s why I always open The map guide ttweakmaps before the countdown hits zero.
No guessing.
No “let’s see what’s over here.”
Just move.
I used to die in the first 20 seconds. Now I’m looting by second 12.
You want that too?
Then plan your route before the match starts.
Not after.
Not during.
Before.
Your spawn moment is not the time to decode color theory.
It’s the time to move.
Beyond the Basics: Power Moves for Real Players
I don’t just follow routes. I watch how people move.
Since most players take the same paths, counter-ambush positions are baked into every guide. You learn where they’ll pause. Where they’ll peek. it they’ll reload (and) that’s where you wait.
You ever try stacking a resource guide with a combat guide? Do it. One tells you where the ammo spawns.
The other tells you how to hold the chokepoint while grabbing it. That’s how hybrid strategies form.
The Map Guides Ttweakmaps aren’t cheat sheets. They’re behavior maps.
I’ve lost count of how many times I predicted a flank because three guides all flagged the same broken fence as a hotspot.
Read more about how this works in practice (this) guide breaks down the overlap between movement and threat timing.
Don’t just play the map. Outthink the players on it.
You Already Know Where You’re Stuck
I’ve been there. Staring at a map that looks right but leads you wrong.
You want clarity. Not more layers. Not more jargon.
Just the route that works.
The Map Guides Ttweakmaps fixes that.
It’s not another overlay. Not another “smart” layer that hides what matters.
It’s the edit you didn’t know you needed. Sharp, quiet, and dead accurate.
Why do most maps fail you? Because they assume you’ll adapt to them. This one adapts to you.
You’re tired of guessing which trail is passable. You’re done zooming in just to lose your place. That frustration?
It ends here.
Go open The Map Guides Ttweakmaps right now. Try it on your next walk. Your next ride.
Your next “wait (where) am I?” moment.
It’s the only map guide that doesn’t make you work harder to get where you’re going.
Click. Load. Move.
Done.
 Ask Lucy Odumsting how they got into travel tips and guides and you'll probably get a longer answer than you expected. The short version: Lucy started doing it, got genuinely hooked, and at some point realized they had accumulated enough hard-won knowledge that it would be a waste not to share it. So they started writing.
What makes Lucy worth reading is that they skips the obvious stuff. Nobody needs another surface-level take on Travel Tips and Guides, Vacation Planning Resources, Traveler Stories and Experiences. What readers actually want is the nuance — the part that only becomes clear after you've made a few mistakes and figured out why. That's the territory Lucy operates in. The writing is direct, occasionally blunt, and always built around what's actually true rather than what sounds good in an article. They has little patience for filler, which means they's pieces tend to be denser with real information than the average post on the same subject.
Lucy doesn't write to impress anyone. They writes because they has things to say that they genuinely thinks people should hear. That motivation — basic as it sounds — produces something noticeably different from content written for clicks or word count. Readers pick up on it. The comments on Lucy's work tend to reflect that.
Ask Lucy Odumsting how they got into travel tips and guides and you'll probably get a longer answer than you expected. The short version: Lucy started doing it, got genuinely hooked, and at some point realized they had accumulated enough hard-won knowledge that it would be a waste not to share it. So they started writing.
What makes Lucy worth reading is that they skips the obvious stuff. Nobody needs another surface-level take on Travel Tips and Guides, Vacation Planning Resources, Traveler Stories and Experiences. What readers actually want is the nuance — the part that only becomes clear after you've made a few mistakes and figured out why. That's the territory Lucy operates in. The writing is direct, occasionally blunt, and always built around what's actually true rather than what sounds good in an article. They has little patience for filler, which means they's pieces tend to be denser with real information than the average post on the same subject.
Lucy doesn't write to impress anyone. They writes because they has things to say that they genuinely thinks people should hear. That motivation — basic as it sounds — produces something noticeably different from content written for clicks or word count. Readers pick up on it. The comments on Lucy's work tend to reflect that.